Mastering the Art of Drywall Installation: A Step-by-Step Guide
Embarking on a drywall installation project can be both exciting and daunting for even the most seasoned DIY enthusiasts. Whether you're looking to revamp your living space or tackle a new home improvement endeavor, mastering the art of drywall installation is a fundamental skill to have in your arsenal. In this comprehensive guide, we will delve into the intricacies of successful drywall installation, breaking down the process step by step to empower you with the knowledge and confidence needed to achieve professional results. From understanding the key prep work essentials to navigating through the indispensable tools required for a flawless installation, this article will serve as your go-to resource for all things drywall. Whether you're a beginner looking to learn the ropes or a seasoned pro seeking to refine your technique, we've got you covered. Join us on this journey as we explore the nuances of drywall installation, offering practical tips, troubleshooting advice, and expert insights to help you achieve a seamless finish with finesse
Understanding the Basics: Prep Work for Successful Drywall Installation
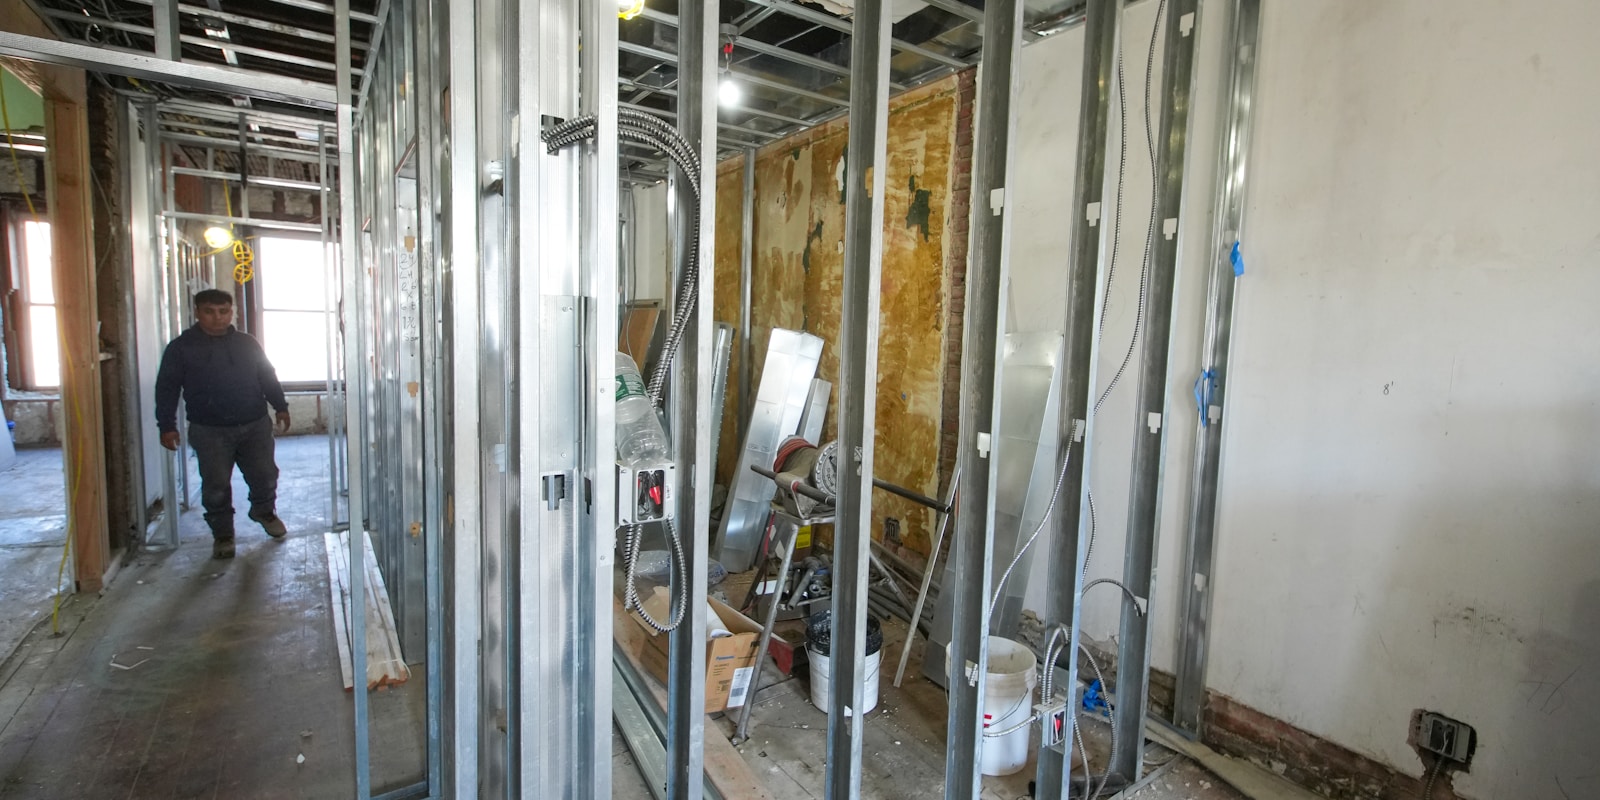
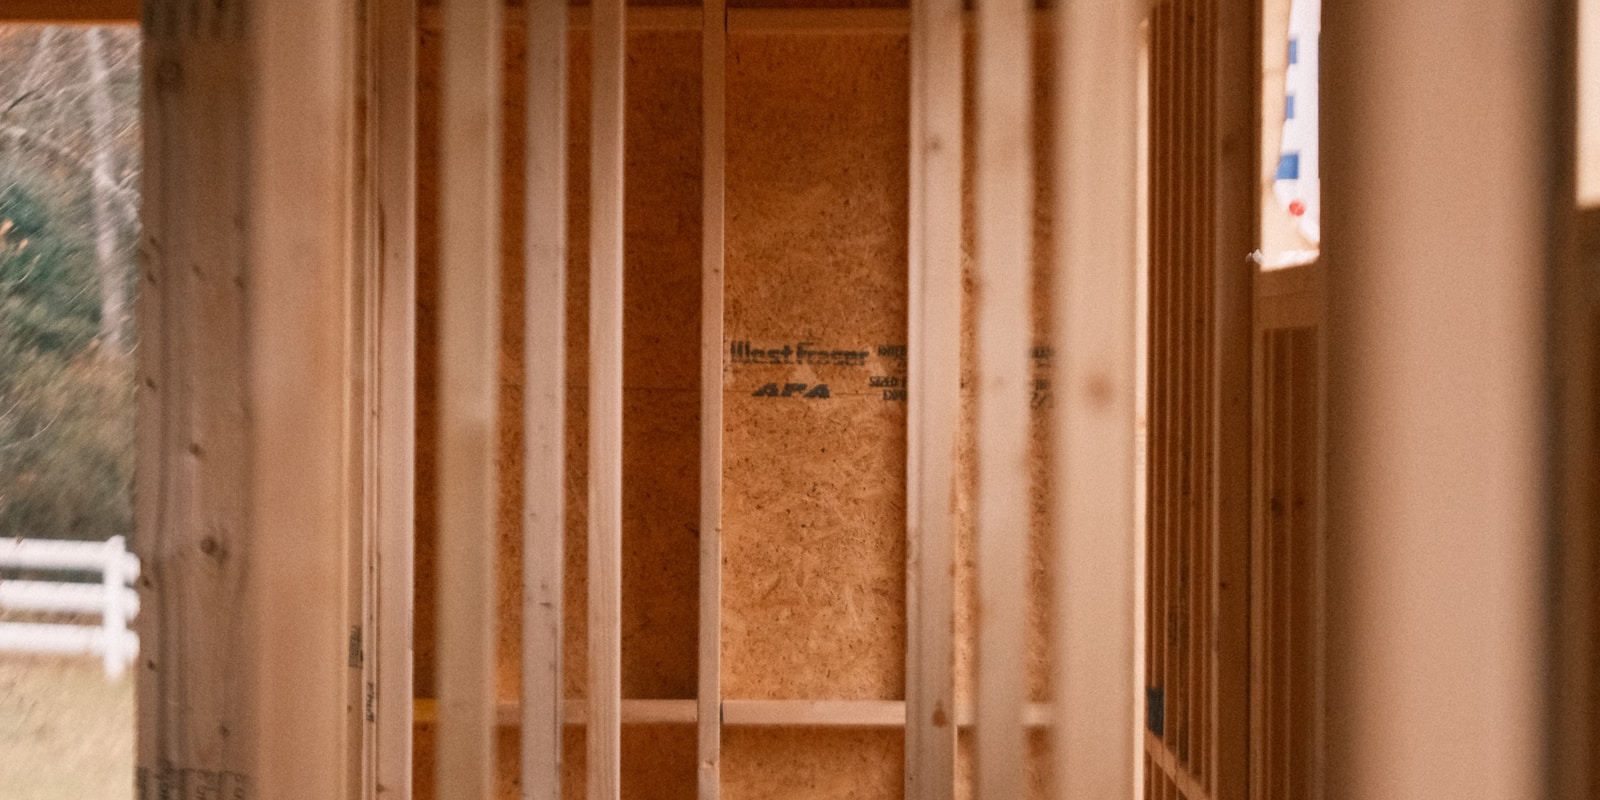
Before diving into the actual drywall installation process, it is crucial to prepare properly to ensure a successful outcome. Adequate prep work lays the foundation for a seamless installation and a professional finish. Here's a detailed guide to understanding the basics of prep work for drywall installation: 1. **Measure and Plan**: Begin by measuring the dimensions of the area where the drywall will be installed. Calculate the square footage to determine how many drywall sheets you will need. Plan the layout to minimize waste and ensure a uniform finish. 2. **Gather Materials and Tools**: Make sure you have all the necessary materials and tools on hand before you start. This includes drywall sheets, joint compound, screws, mesh tape, a utility knife, a T-square, a drywall saw, and a drill. 3. **Prepare the Work Area**: Clear the installation area of any obstacles and cover the floors and any furniture with protective material to prevent damage. Ensure that the walls are clean and free of debris before proceeding. 4. **Mark Stud Locations**: Locate and mark the positions of the wall studs using a stud finder. This step is crucial for proper screw placement and ensuring the stability of the drywall once installed. 5. **Cut Drywall Sheets to Size**: Use a T-square and a utility knife to score the drywall sheets to the required dimensions. Snap the sheet along the scored line and use a drywall saw to finish the cut. 6. **Fit Drywall Sheets**: Lift the cut drywall sheets into place, ensuring a snug fit against the walls and ceilings. Use a drill to secure the sheets to the studs with drywall screws, placing them every 12 inches along the studs. 7. **Tape and Mud Seams**: Apply mesh tape over the joints between drywall sheets to prevent cracking. Use joint compound to cover the tape and create a smooth surface. Repeat the process for all seams, feathering the edges for a seamless finish. 8. **Sand and Finish**: Once the joint compound is dry, sand the seams to create a flat and even surface. Apply additional coats of joint compound as needed, sanding between each coat for a flawless finish. By following these basic steps and paying attention to detail during the prep work phase, you will set yourself up for a successful drywall installation. Taking the time to prepare properly will ensure a professional result that is durable and visually appealing. Remember, the key to mastering the art of drywall installation lies in meticulous attention to detail from start to finish
Tools of the Trade: Essential Equipment for a Seamless Installation Process
When it comes to mastering the art of drywall installation, having the right tools is crucial for a successful and seamless process. Here is a detailed look at the essential equipment needed to ensure a job well done: 1. **Utility Knife**: A sharp utility knife is essential for cutting drywall sheets to the required size and shape. Look for a retractable blade with a comfortable grip for precision cutting. 2. **Tape Measure**: Accurate measurements are key to achieving a precise fit during installation. A sturdy tape measure will help you determine the dimensions of the walls and ceilings accurately. 3. **Drywall T-Square**: This tool is designed to help you make straight cuts on drywall sheets quickly and efficiently. It ensures that your cuts are precise and clean, resulting in a professional finish. 4. **Drywall Saw**: For cutting curves, openings for outlets, and other intricate shapes, a drywall saw is indispensable. Look for a serrated blade that can handle various cutting tasks with ease. 5. **Screw Gun**: Installing drywall involves a lot of screwing, so a reliable screw gun will save you time and effort. Choose a model with adjustable settings for different screw depths. 6. **Drywall Screws**: Opt for specialized drywall screws that are designed to secure drywall sheets effectively without damaging the material. Coarse-threaded screws are recommended for better hold. 7. **Drywall Joint Tape**: To reinforce drywall joints and prevent cracking, use drywall joint tape. This self-adhesive tape is essential for creating seamless transitions between drywall sheets. 8. **Drywall Joint Compound**: Also known as mud, joint compound is used to cover joints, screws, and tape to create a smooth surface for painting. Choose a high-quality joint compound for best results. 9. **Corner Bead**: Metal or vinyl corner beads are essential for protecting outside corners and creating clean, sharp edges. They enhance the durability and visual appeal of the finished installation. 10. **Sanding Tools**: To achieve a smooth and uniform surface, sanding tools such as a sanding block or pole sander are necessary. Proper sanding will prepare the drywall for painting and finishing. By ensuring that you have these essential tools of the trade at your disposal, you can streamline the drywall installation process and achieve professional results with ease. Remember, investing in high-quality tools will not only enhance the efficiency of your work but also contribute to the overall quality of the finished project
Step-by-Step Installation Guide: From Cutting to Finishing with Finesse
When it comes to mastering the art of drywall installation, attention to detail is key. The process involves several steps that require precision and finesse to achieve a flawless finish. Here is a comprehensive guide to help you navigate each stage of the drywall installation process: 1. **Preparation**: Begin by measuring the area where the drywall will be installed and gather all necessary tools and materials. Ensure that the surface is clean, dry, and free of any debris before you start. 2. **Cutting the Drywall**: Use a T-square and utility knife to score the drywall sheet to the desired size. Snap along the scored line and then cut through the paper backing to separate the pieces. Make sure to measure accurately to avoid unnecessary waste. 3. **Hanging the Drywall**: Start by positioning the drywall sheet against the wall or ceiling, ensuring a snug fit. Use drywall screws to secure the sheet in place, making sure to distribute them evenly along the studs. 4. **Taping and Mudding**: Cover the joints between drywall sheets with drywall tape and apply joint compound (mud) using a taping knife. Smooth out the mud to create a seamless finish, feathering the edges to blend with the rest of the wall. 5. **Sanding and Finishing**: Once the mud has dried, sand the surface to remove any imperfections and achieve a smooth texture. Apply additional coats of mud as needed, sanding between each layer for a professional finish. 6. **Priming and Painting**: Before painting, apply a coat of primer to seal the drywall and ensure the paint adheres properly. Choose a high-quality paint in your desired color and apply evenly for a polished look. By following these step-by-step instructions and paying attention to detail at each stage, you can master the art of drywall installation and achieve a seamless finish with finesse. Practice makes perfect, so don't be discouraged if it takes time to perfect your technique – patience and precision will lead to professional results
Troubleshooting Common Issues: Tips for Handling Challenges During Installation
Drywall installation can present various challenges that may seem daunting at first, but with the right approach and know-how, you can troubleshoot common issues effectively. Here are some tips to help you navigate through potential challenges during the installation process: 1. **Matching Seam Lines**: Achieving seamless joints is crucial for a professional-looking finish. To ensure consistent seam lines, be meticulous in measuring and cutting your drywall panels. Take your time to align the panels precisely and use a straight edge to guide your utility knife for clean cuts. 2. **Dealing with Gaps and Imperfections**: Inevitably, you may encounter gaps or imperfections while installing drywall. To address this, consider using joint compound or drywall mud to fill in any visible seams or holes. Apply multiple thin layers, allowing each coat to dry completely before sanding it down for a smooth and even surface. 3. **Preventing Screw Pops**: Screw pops occur when the drywall screws are not securely fastened, causing them to push through the drywall paper and create a raised bump. To prevent screw pops, make sure to drive the screws just below the surface of the drywall without breaking the paper. If you notice any screw pops, remove the screw, secure the area with a new screw, and patch up the hole with joint compound. 4. **Minimizing Cracks in Corners**: Corners are vulnerable areas that are prone to cracking if not properly reinforced. Use metal corner bead or paper-faced metal bead to protect exterior corners and create a durable edge that resists damage. Apply joint compound along the corner bead, feathering it out smoothly to blend with the surrounding drywall. 5. **Addressing Moisture Issues**: Moisture can wreak havoc on drywall, leading to mold growth, warping, or crumbling. Before installation, ensure proper ventilation in areas prone to moisture, such as bathrooms or kitchens. Consider using moisture-resistant drywall or applying a waterproofing sealant to protect the surface from potential water damage. By implementing these troubleshooting tips and techniques, you can overcome common challenges that may arise during drywall installation, ultimately achieving a professional and flawless result. Remember to approach each issue with patience and precision, and don't hesitate to seek advice from professionals if needed
Finishing Touches: How to Achieve a Professional Look with Drywall Installation
Once you've completed the basic steps of drywall installation, the finishing touches are what will truly elevate the look of your project to a professional level. Here are some key tips to help you achieve a polished finish: 1. **Taping and Mudding**: Properly taping and mudding the joints between drywall panels is essential for a seamless look. Apply a thin layer of joint compound over the joints, embed paper tape, and then feather out the edges with additional coats of compound. Sanding between each coat will create a smooth surface free of bumps or ridges. 2. **Sanding**: Sanding is a crucial step in achieving a professional finish. Use a fine-grit sandpaper to smooth out any rough edges, bumps, or imperfections in the drywall compound. Be sure to wear a mask to protect yourself from dust particles. 3. **Priming**: Before painting, make sure to prime the drywall to seal the surface and ensure proper adhesion of the paint. Primer also helps to even out the texture of the drywall, creating a uniform surface for painting. 4. **Painting**: Choosing the right paint finish can make a significant difference in the final appearance of your drywall. For a professional look, opt for a satin or eggshell finish that offers a slight sheen and is easy to clean. Remember to use high-quality paint and apply it evenly for a flawless result. 5. **Trim Work**: Adding trim around windows, doors, and baseboards can enhance the overall aesthetic of your drywall installation. Be sure to measure and cut the trim accurately for a clean and precise finish. 6. **Cleanup**: Once you've completed the finishing touches, take the time to clean up any dust, debris, or leftover materials from the installation process. A clean workspace will not only improve the look of your project but also showcase your attention to detail. By following these steps and paying careful attention to the finishing touches, you can achieve a professional look with your drywall installation that will impress both yourself and others. With a bit of patience and dedication, your project will be transformed into a seamless and aesthetically pleasing space
Conclusion
In conclusion, mastering the art of drywall installation is a crucial skill for both beginners and seasoned DIY enthusiasts alike. From the essential prep work to the selection of the right tools, this step-by-step guide has equipped you with the knowledge and confidence to achieve professional results. Remember the importance of proper measurements, cutting techniques, and securing methods to ensure a flawless finish. By following the detailed instructions provided in this guide, you can successfully navigate through each stage of the drywall installation process with finesse. Whether you are embarking on a home improvement project or simply refining your skills, the key is to approach each step methodically and meticulously. With a solid understanding of the intricacies involved, you'll be well on your way to transforming your living space with confidence and expertise. Happy drywall installing! 🛠️🏡